Scanning
Scanning documentation using the Epson ScanSmart digitizes important and fragile handwritten/type written collections documentation.The IP department has used this workflow to digitize taxa cards and historic UCLA catalog record books.
Workflow overview - UCLA Catalog Records
These catalog records contain the specimen and locality documentation for the UCLA invertebrate paleontology collection which was transferred to the LACMIP collection. Each catalog number in the book corresponds to a fossil(s) in the collection.
The UCLA Catalog books are located in the metal cabinet to the right of the western entrance, behind the reprint library. The catalogs are arranged in ascending numerical order. Please keep the books in that order and complete the workflow in that order as it is necessary for the file naming convention to remain accurate.
![]() There should be no food, drinks or chemicals around these historic documents.
There should be no food, drinks or chemicals around these historic documents.
| Step | To scan… |
|---|---|
| Select | Carefully remove the UCLA Catalog book you plan on scanning and take it to the workstation with the Mac desktop.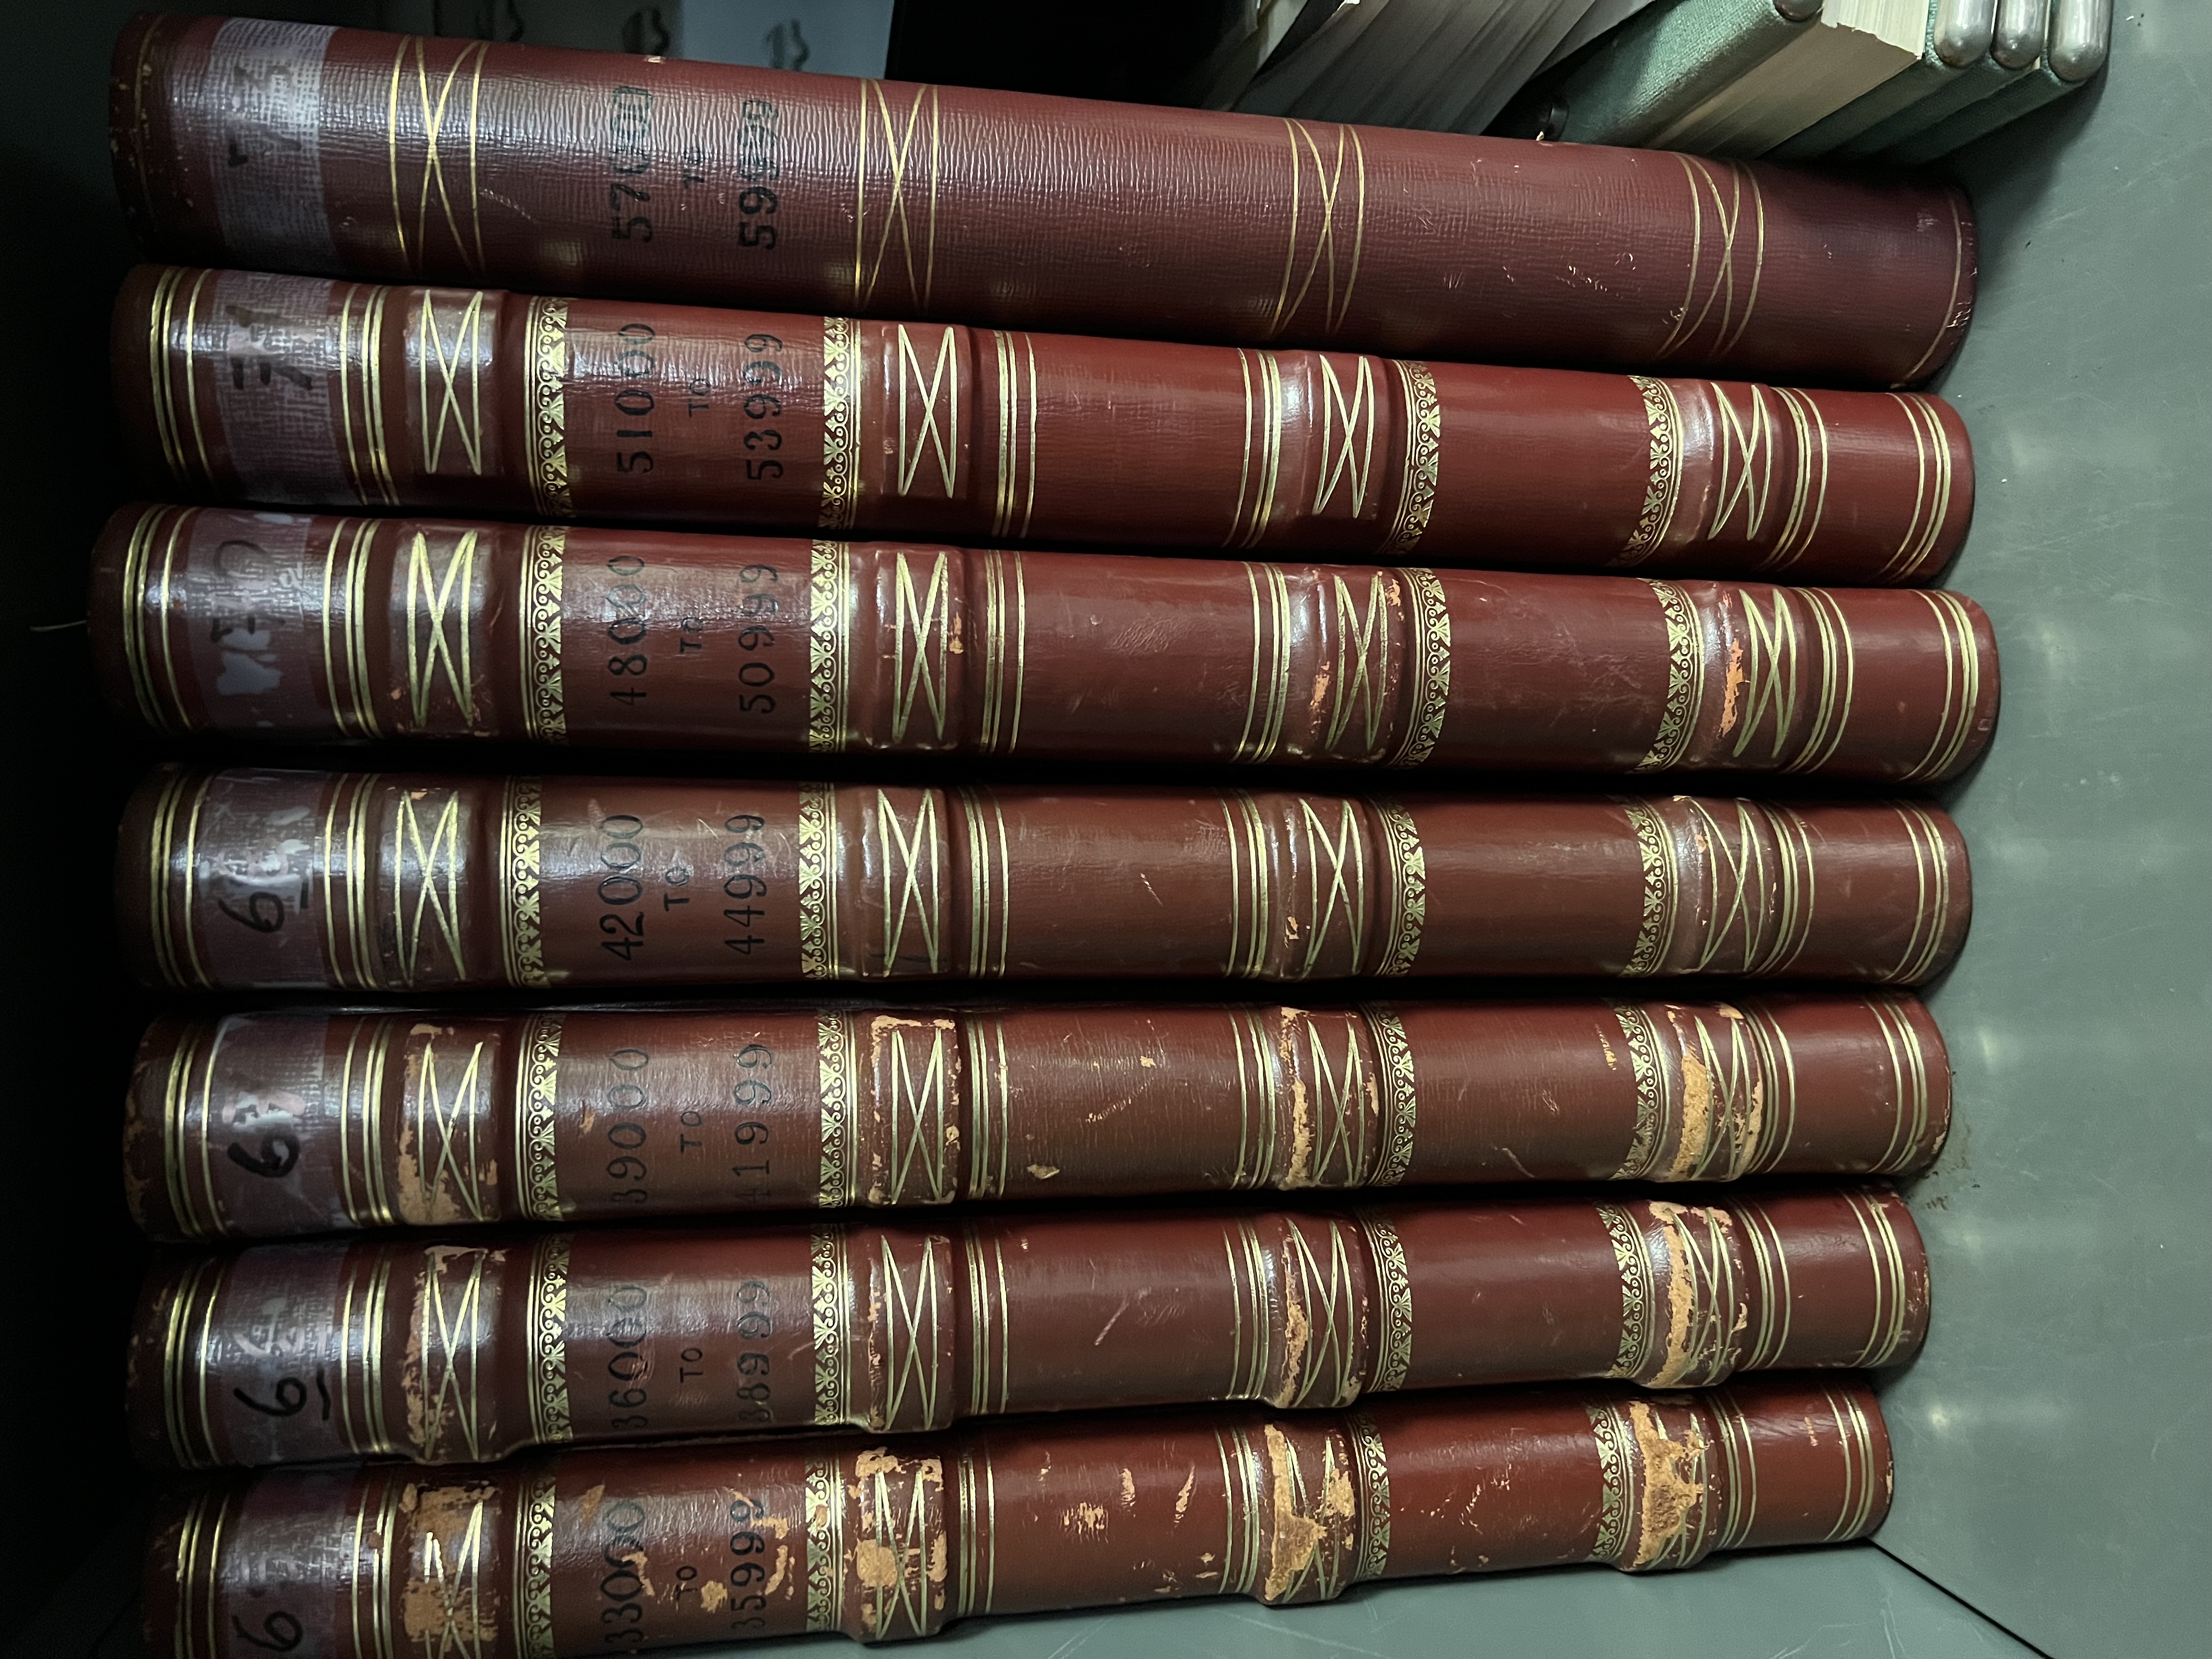 There is a rod in the top of the book’s spine which latches the metal bindings together. Place the book on the desk, open the front cover of the book, and pull the key gently upwards to release the metal binding of the book. Remove the front cover and set aside. There is a rod in the top of the book’s spine which latches the metal bindings together. Place the book on the desk, open the front cover of the book, and pull the key gently upwards to release the metal binding of the book. Remove the front cover and set aside. |
| Set-up | Insert the Epson ScanSmart USB into the USB port in the Mac desktop (located behind the screen in the bottom right hand corner). Unplug the apple charging cord if there are no ports available. Turn on the scanner by holding the power button down for 3 seconds. A notification will pop-up on the Mac desktop stating that the scanner is connected to the computer. Click the button with the white slated arrow on the Epson machine and a corresponding light will turn blue. This will slow the scanning speed so that the pages do not get caught in the machine and rip. |
| Open | Click on the Epson ScanSmart icon on the bottom banner of the desktop. When the program opens, choose the settings in the top right-hand corner and click “File Name Settings.”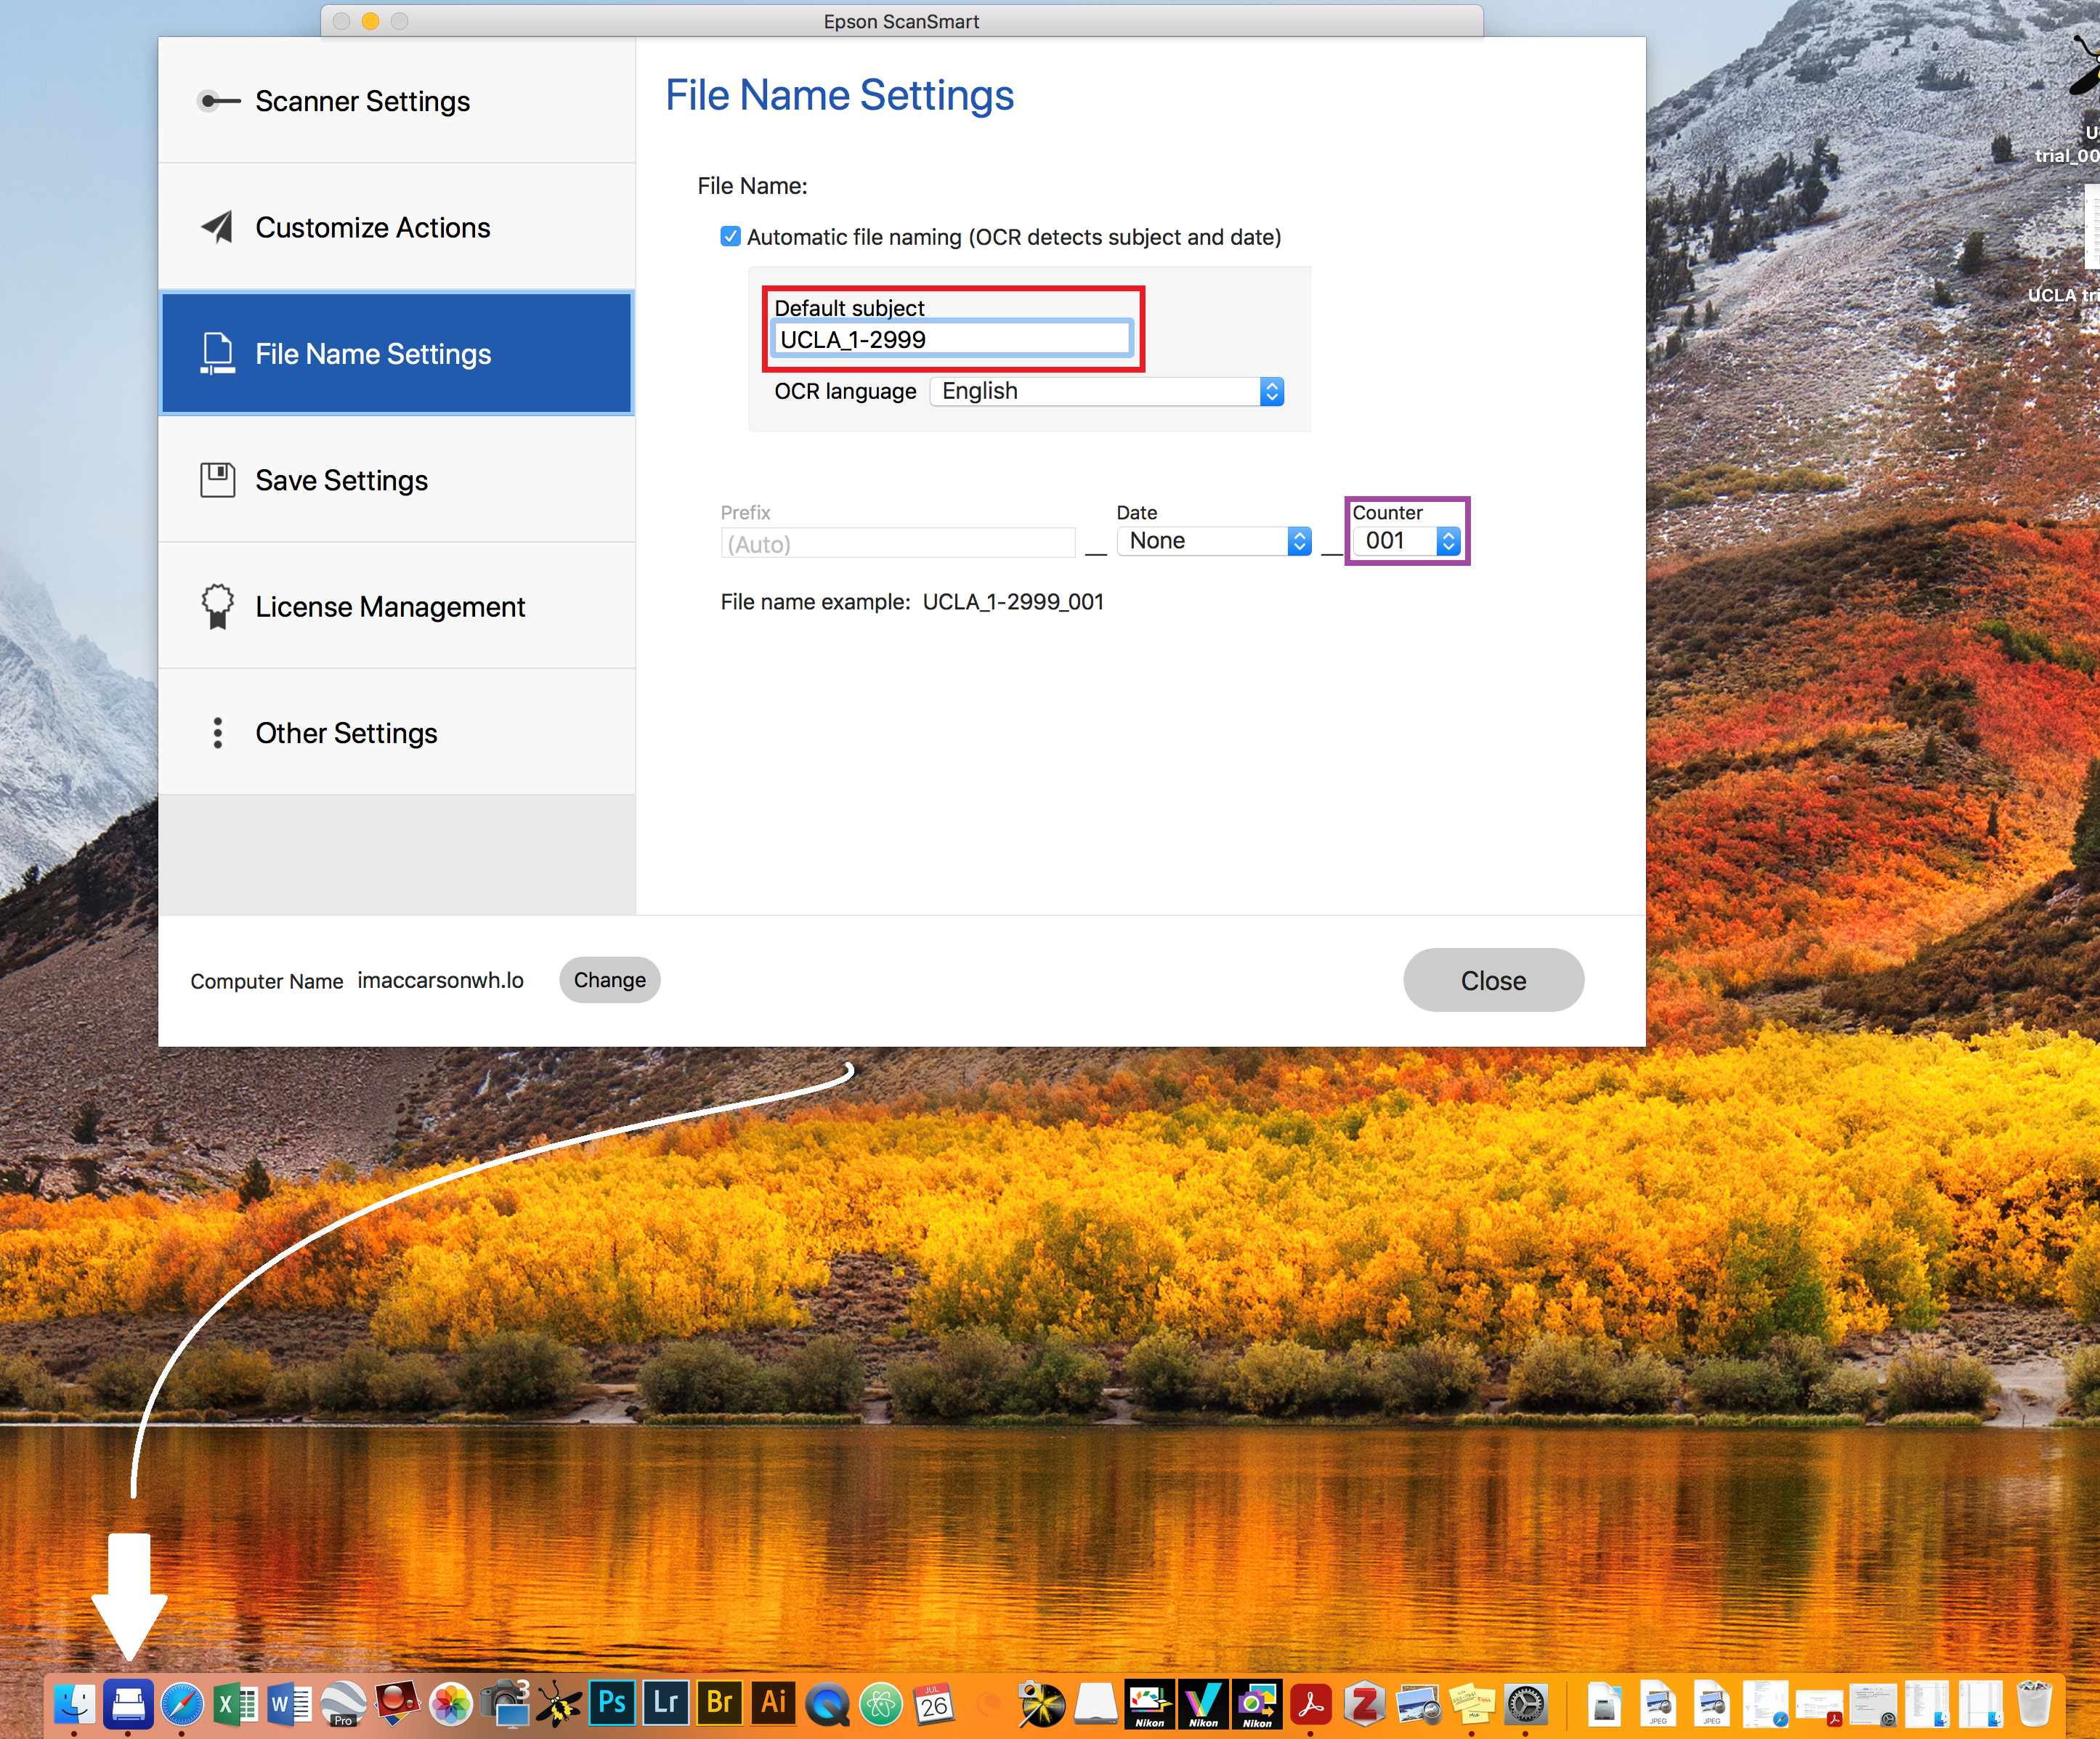 The red box circled around the file name comes from the catalog book’s range which is located on the spine of the book.The purple block corresponds to the page number of the catalog book.You should only need to replace these values when you finish one book and move to another. The red box circled around the file name comes from the catalog book’s range which is located on the spine of the book.The purple block corresponds to the page number of the catalog book.You should only need to replace these values when you finish one book and move to another. |
| Scan | Remove 15 pages at a time and insert in the document feeder. Take special care not to tear the binder holes. Click “Scan double-sided” in the program. Place the lowest number facing the back of the machine. To scan another 15 pages, place in document feeder, click the +Scan, and choose double scan OR you can save the scans and start the entire process over. |
| Save | Click “Next” on the bottom right hand corner of the screen. Click customize on the lower left corner of the pop-up window. Under File Naming Conventions, un-check the blue arrow so that the file name drops down to the next space. Exit out of the customize pop-up. Choose Save. Save the file under /Users/lacmipvolunteers/Desktop/UCLACatalogs. The page number will not need to be updated as the machine will recognize the next available number. |
| Finish | When you are done for the day, place the pages back in the same order. Make sure not to tear the binder holes. Place the front cover back on top and push the rod in. The metal bindings will latch together. Return the catalog book to the metal cabinet. In order to remember where you left off, open up the “UCLA Catalogs” folder on the desktop and see the last page number that was scanned. |