Migrating (Google Earth)
LACMIP uses Google Earth as its primary software for georeferencing, but this data also must be recorded with each LACMIP Site record in EMu. This page outlines how data generated in Google Earth should be migrated into EMu. See the georeferencing documentation for more details on how geographic coordinates are assigned to a locality using Google Earth and other tools.
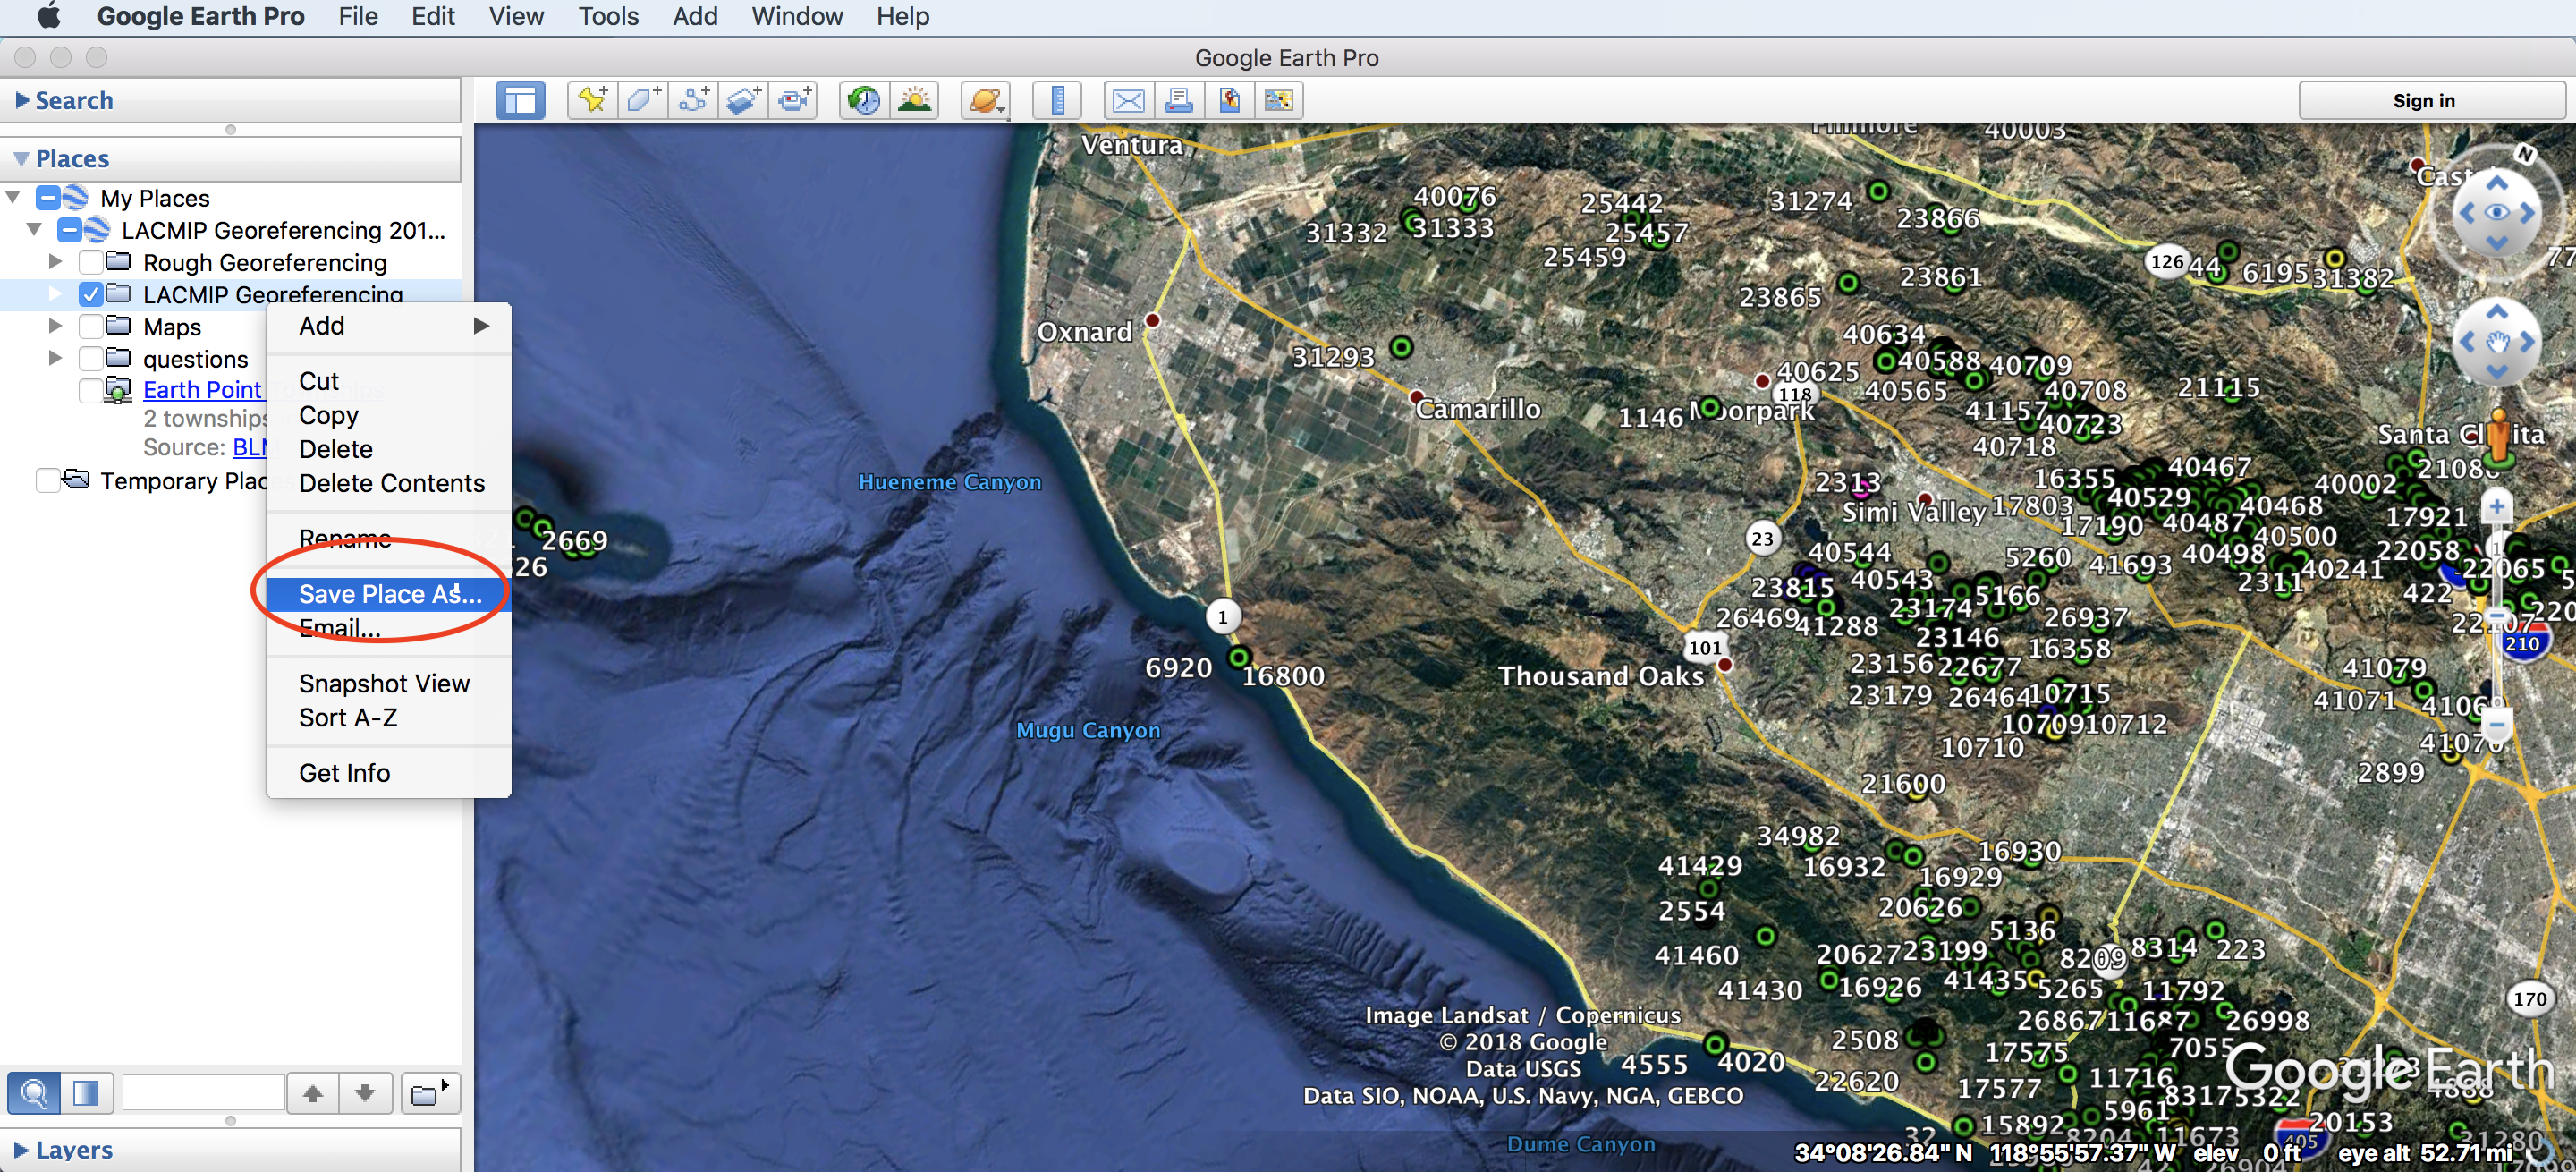
First, open Google Earth and download a KML version of the “LACMIP Georeferencing” folder by right-clicking on it.
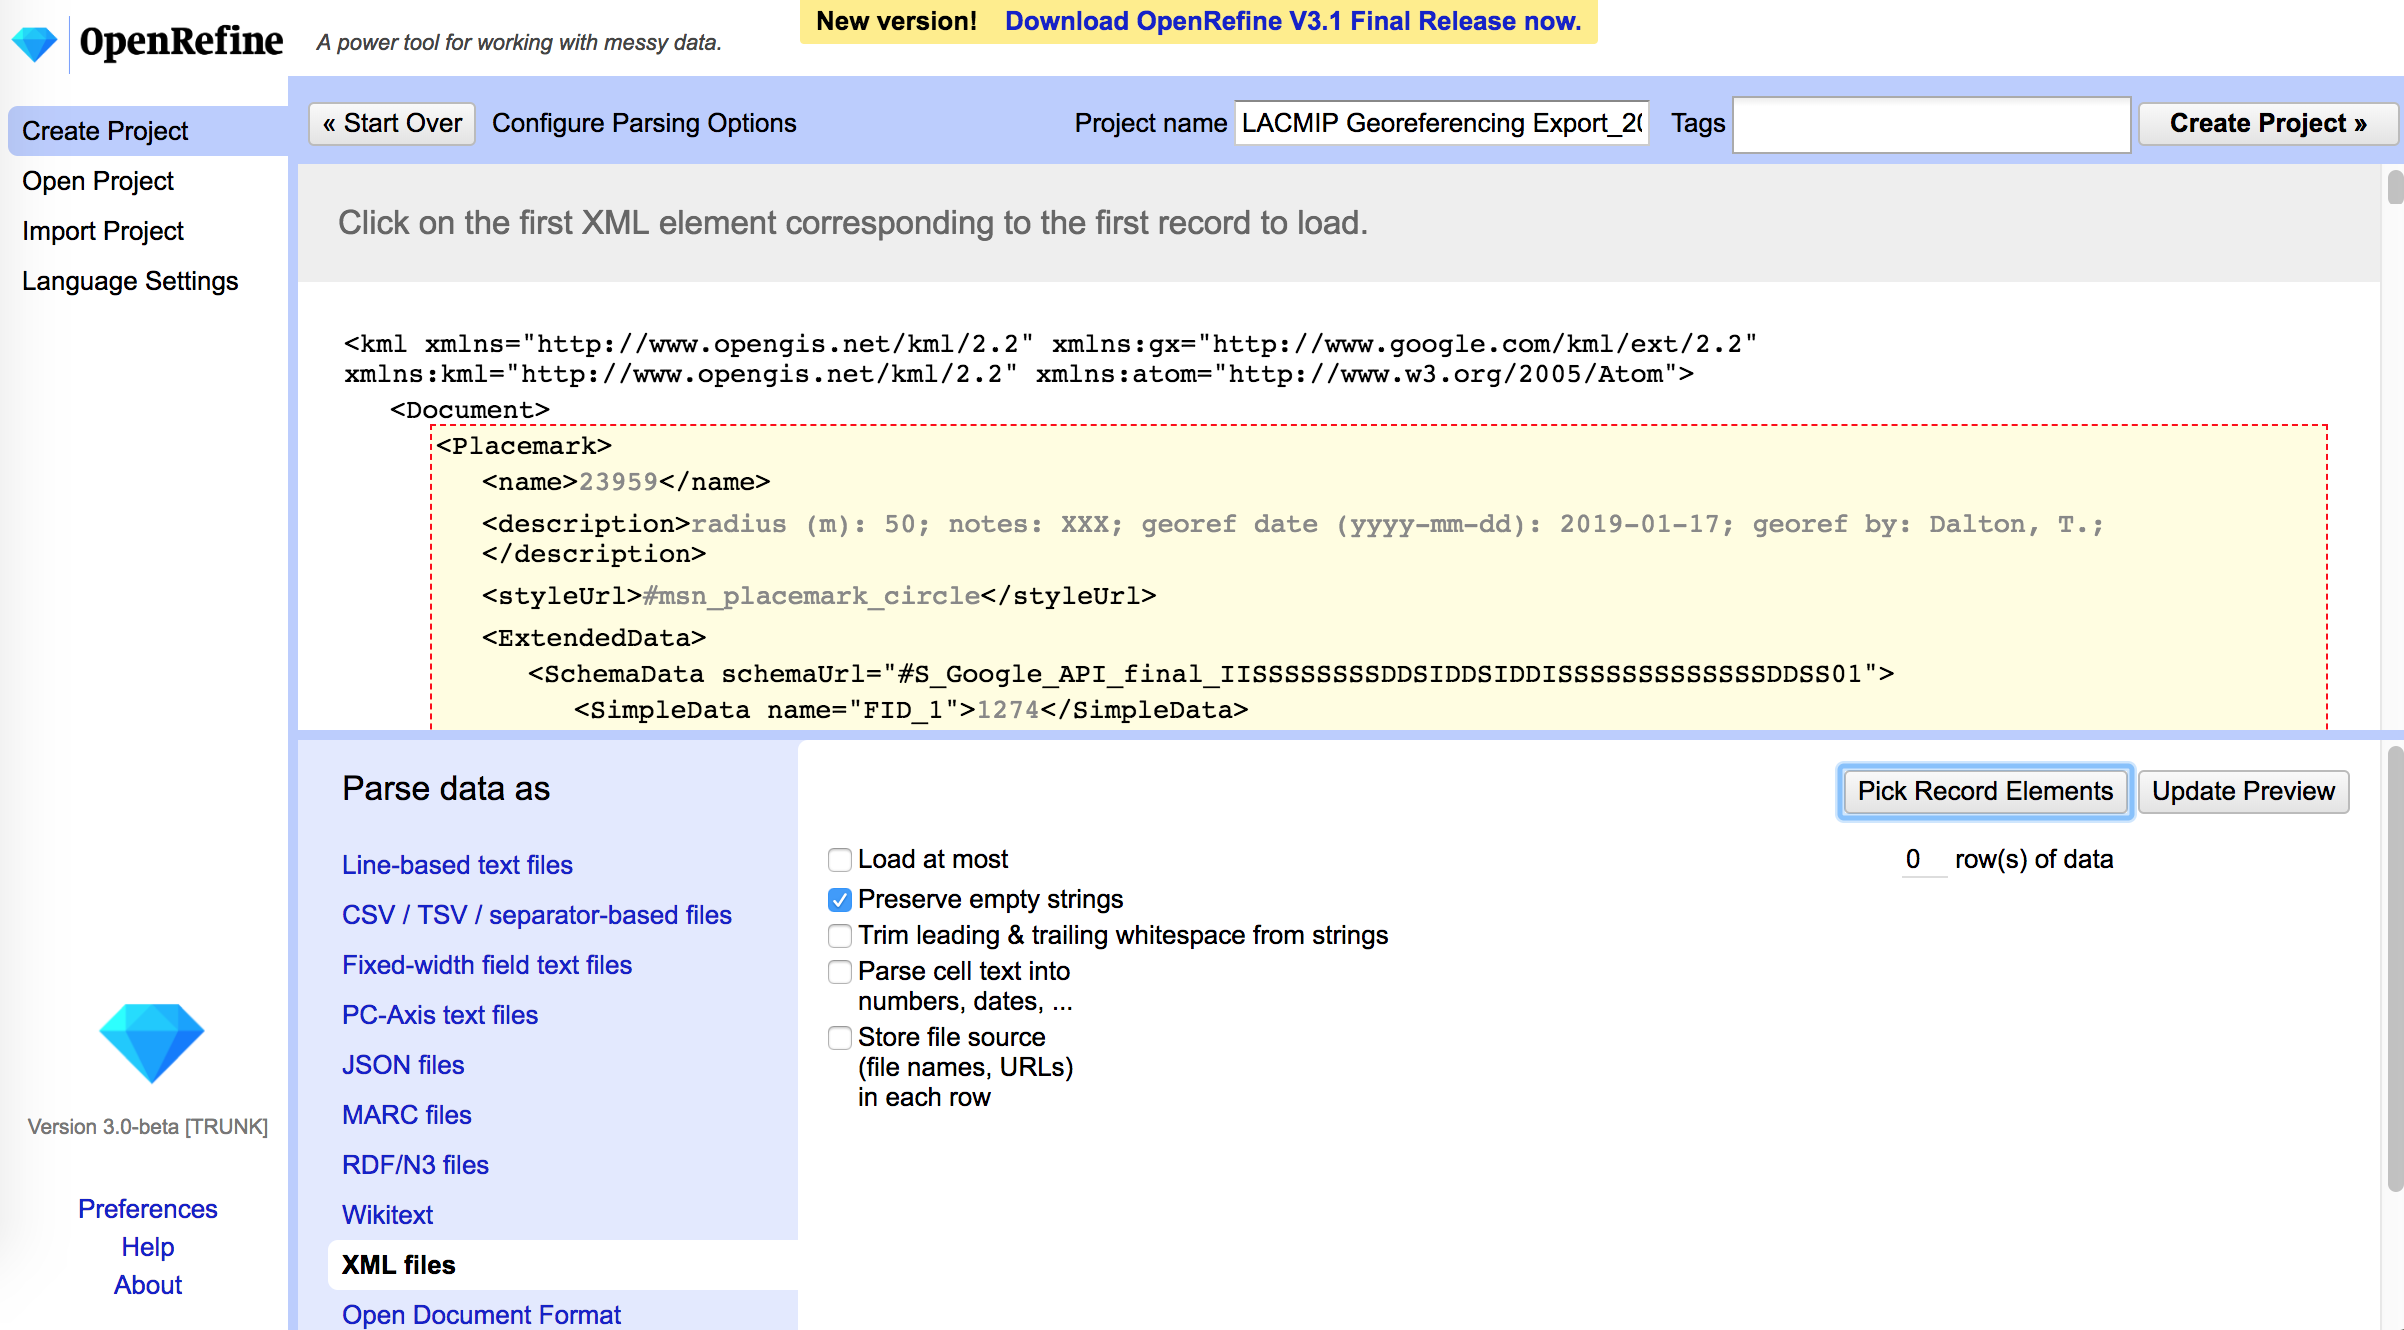
Open the KML file in a text editor and trim it by searching for the first instance of the <Placemark> element and deleting everything above this tag and below the <Document> tag. Save the file, then import into OpenRefine and run the script called _OpenRefineScript_GoogleEarth-to-EMu.json (please note that this script was written for OpenRefine 3.1 so if it isn’t working for you, check your version).
<Placemark> element)
Check data for integrity, then select only rows where the date in LatDetDate0(-) is after the last Google Earth export (look in EMu > Data Migration Archive > Sites > Georeferencing and at the most recently dated file name). Download this subset of new georeferences as a CSV.
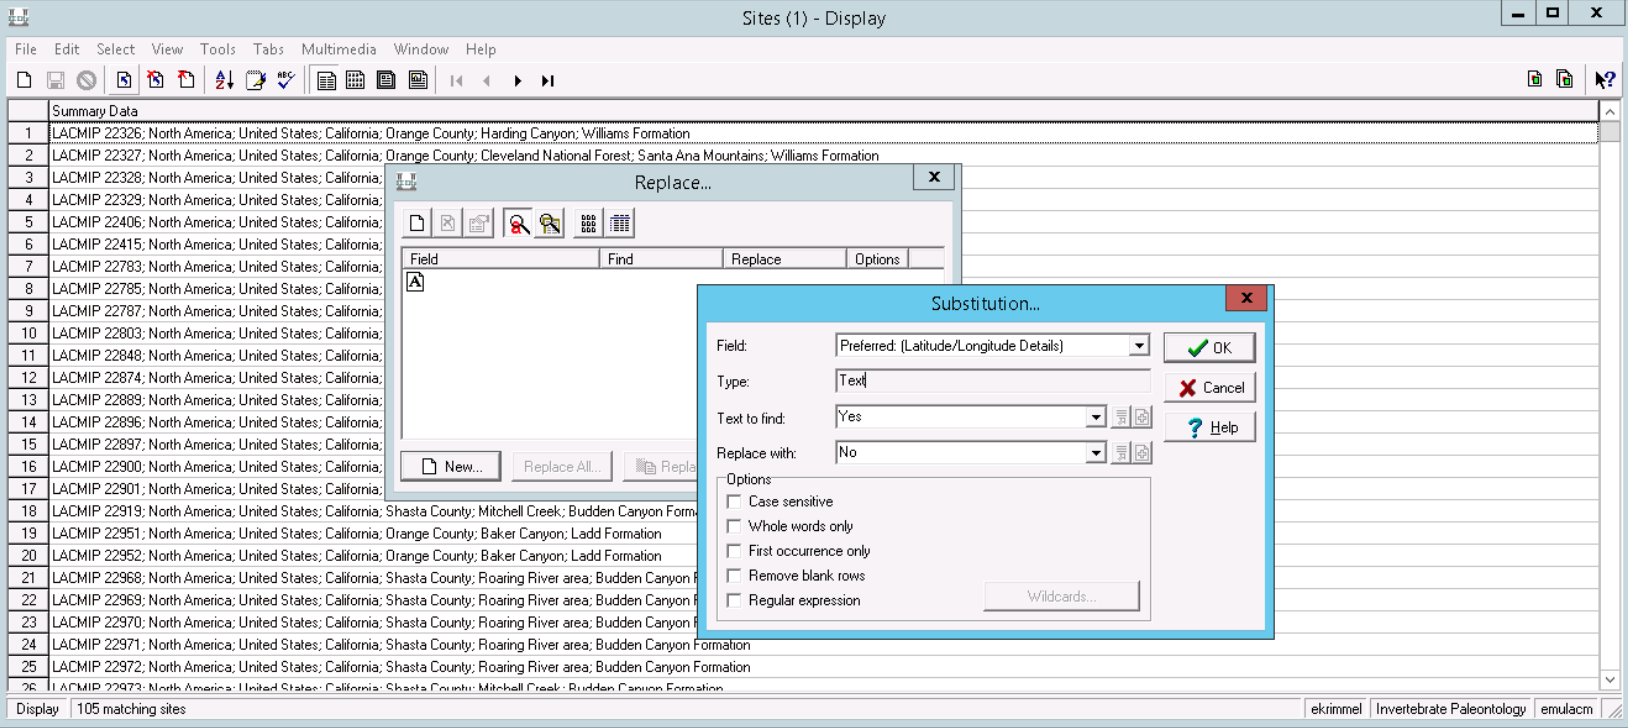
If you are using EMu remotely, log into the VPN and import the CSV to the remote desktop by dragging and dropping it. Open the file in Excel from within the VPN and copy the values of the SitSiteNumber column. Search for these values in EMu and make any existing “Preferred” georeferences not preferred, as shown in the figure below. This ensures that the new georeference coordinates get preference over any existing coordinates, which often come from less-accurate batch georeferencing.
Finally, import the CSV into the Sites module via the custom import tool (see importing data for further documentation on this tool).
You can only complete this import if you are logged into the “IP Importer” group, which you can select by right-clicking the command center and going to Options > Security. If you do not see this group your account may not have the proper permissions; contact the Museum’s database manager for assistance.